Secrets to Perfect Pita Pockets: Puffy & Delicious Every Time
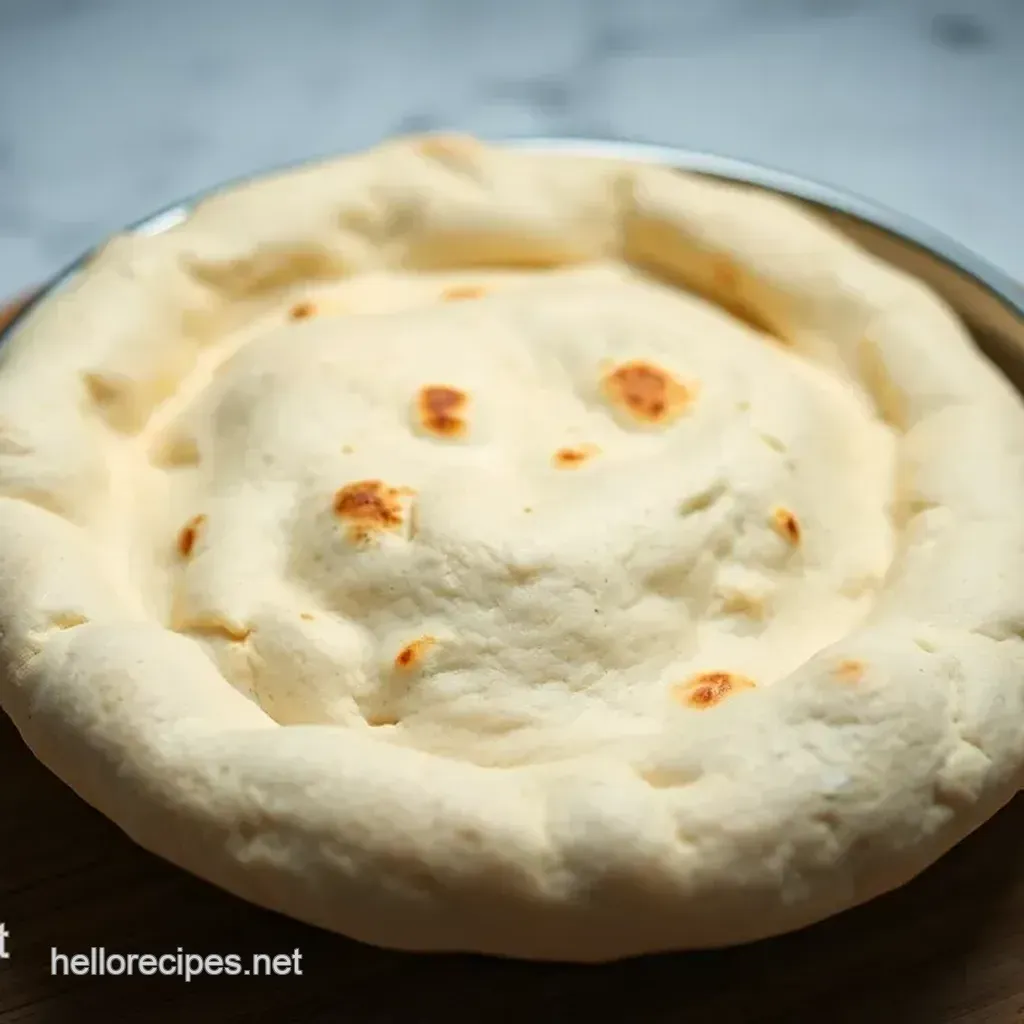
There's something uniquely satisfying about a warm, fresh pita bread, especially one that puffs up perfectly in the oven, creating that magical pocket just waiting to be filled. For many cultures, especially in the Mediterranean and Middle East, pita isn't just bread – it's a staple, a tradition, and often, a sacred food. If you've ever dreamt of recreating that bakery-quality softness and chewiness at home, wondering about the secrets to perfect pita pockets, you're in the right place. This comprehensive pita pocket recipe will guide you through every step, ensuring you achieve puffy, delicious results every single time. Forget store-bought; homemade pita is a game-changer!
The Allure of the Homemade Pita Pocket
Why go to the effort of making pita pockets from scratch when they're readily available? The answer lies in unparalleled freshness, incredible flavor, and that inimitable fluffy texture that simply can't be replicated after a day or two on a grocery store shelf. For Greeks, like many others, pita is a cornerstone of countless meals, cherished for its versatility and comforting presence. Its history stretches back thousands of years, a testament to its enduring appeal and adaptability.
Many home cooks find the idea of making any kind of bread intimidating, but crafting homemade pita pockets is surprisingly easy. This pita pocket recipe is designed to demystify the process, requiring only a few simple ingredients and minimal prep time. With just about 10 minutes of active prep and 15 minutes of cooking, you can yield around 9 magnificent pita pockets, ready to be stuffed with anything your heart desires. From traditional gyros and falafel to creative lunchtime solutions like PB&J for kids, or even hearty chicken pita pocket recipes, the possibilities are truly endless. The best pita is fresh and fluffy, and this recipe delivers exactly that, transforming a simple meal into an extraordinary culinary experience.
Unlocking the Puffy Pocket: Key Ingredients and Techniques
Achieving that characteristic puff and tender crumb in your pita pockets isn't magic; it's a science built on a few fundamental ingredients and careful techniques. Understanding these will elevate your pita from good to absolutely perfect.
The Foundation: Flour Power
The type of flour you choose plays a critical role in the final texture of your pita. While all-purpose flour might seem convenient, bread flour is the true hero here. Bread flour boasts a higher protein content compared to its all-purpose counterpart. This higher protein translates to more gluten development when kneaded, resulting in a dough that is more elastic, stretchy, and strong. This strength and elasticity are precisely what allow your pita to capture steam during baking, creating those iconic, airy pockets, while also ensuring a wonderfully chewy and fluffy texture. Don't underestimate this small but significant ingredient swap!
Yeast, Water, and Oil: The Lifeblood of Dough
*
Instant Yeast: This recipe utilizes instant yeast, which can be mixed directly with your dry ingredients without prior proofing, simplifying the process. Ensure your yeast is fresh and active for the best rise.
*
Lukewarm Water: The temperature of your water is crucial. It needs to be lukewarm (around 105-115°F or 40-46°C) to activate the yeast without killing it. Water that's too hot will kill the yeast, while water that's too cold won't activate it effectively.
*
Olive Oil: A drizzle of good quality olive oil not only adds a lovely depth of flavor but also contributes to the dough's tenderness and workability. It enriches the dough, making it soft and pliable.
The Magic of Rising: Patience is a Virtue
The first rise, or bulk fermentation, is where much of the magic happens. This period allows the yeast to work its wonders, fermenting the sugars in the flour and producing carbon dioxide gas. This gas is what gives the dough its airy structure and contributes significantly to the final flavor of your pita. Placing the dough in a warm spot, covered, helps facilitate this process, allowing it to double in size, typically within 1.5 to 2 hours. Rushing this step will result in dense, less flavorful pita.
Seasoned Butter: An Optional, Yet Irresistible, Touch
While homemade pita is delicious on its own, a secret weapon for an extra layer of flavor and luxuriousness is seasoned butter. Imagine smothering your warm, fluffy pita pockets with a velvety butter infused with your favorite spices. Think minced garlic, dried oregano, a pinch of red pepper flakes, or even a touch of smoked paprika. This simple addition can transform your pita, adding an aromatic and deeply satisfying finish that complements any filling. Experiment with your preferred spice blends to create a truly unique experience.
Your Step-by-Step Guide to Perfect Pita Pockets
Let's walk through the process of bringing these fluffy wonders to life, ensuring you master each stage for optimal results.
1. Making the Dough: The Foundation of Flavor
Begin by combining your bread flour, salt, and instant yeast in a large mixing bowl, whisking them together to ensure even distribution. Next, pour in the lukewarm water, followed by the olive oil. Using a wooden spoon, mix until a shaggy dough forms – this means it will look rough and sticky.
Now, it's time to get your hands in there! Knead the dough in the bowl for 2-3 minutes, bringing it together until all the flour is absorbed and the dough starts to feel more cohesive.
*
Troubleshooting Tip: If your dough is too sticky, add 1 tablespoon more flour, kneading until it reaches a manageable consistency. If it's too dry, add 1-2 teaspoons of lukewarm water and knead again to combine.
Once kneaded, drizzle a little olive oil over the dough, turn it a few times to coat, then cover the bowl with plastic wrap or a clean tea towel. Place it in a warm spot to rise until it has doubled in size, which usually takes about 1.5 to 2 hours. While the dough is rising, if you plan to use it, prepare your seasoned butter by mixing softened butter with your chosen spices and set it aside.
2. Shaping the Dough: Crafting the Future Pockets
After the first rise, gently turn the risen dough out onto a lightly floured work surface. Form the dough into a rough circle, which will make it easier to divide. The recipe yields 9 pita pockets, so divide the dough into 9 equal pieces. This consistency in size will ensure even baking.
Take each piece of dough and gently form it into a smooth ball or circle. Once all pieces are shaped, cover them loosely with a tea towel and let them rest for about 10-15 minutes. This resting period allows the gluten to relax, making the dough easier to roll out.
Next, one by one, roll each dough ball into a thin, even circle, about 6-7 inches in diameter and roughly 1/8 to 1/4 inch thick. Aim for an even thickness to ensure uniform puffing. Place the rolled-out pitas on a parchment-lined baking sheet or a clean surface, covering them again lightly as you work.
3. Baking for the Puff: The Moment of Magic
The key to that signature pita puff is high heat. Preheat your oven to a very high temperature, typically 450-500°F (230-260°C). If you have a pizza stone or baking steel, place it in the oven during preheating; this provides an intensely hot surface that helps the pita puff rapidly. Otherwise, a heavy baking sheet preheated in the oven will also work well.
Carefully place 1-2 rolled pita rounds directly onto the hot baking surface. Bake for only 2-4 minutes. You’ll watch in amazement as the pita miraculously puffs up like a balloon! This happens because the intense heat rapidly turns the moisture within the dough into steam, which gets trapped inside, creating the pocket. Once puffed and lightly golden, remove the pita from the oven. If it doesn't puff perfectly, don't worry – it will still be delicious!
As each pita finishes baking, immediately transfer it to a plate and cover it with a clean tea towel. This step is crucial for trapping steam and keeping the pita soft and pliable. Repeat with the remaining dough. Once all your pita pockets are baked, you can brush them with your prepared seasoned butter while they are still warm for an extra burst of flavor.
Stuffing Your Pita Pockets: Endless Possibilities
With your batch of perfectly puffed, soft pita pockets ready, the fun truly begins: filling them! The versatility of homemade pita is one of its greatest strengths.
*
Classic Combinations: For a taste of the Mediterranean, fill your pitas with traditional Greek gyros meat, crispy falafel, grilled souvlaki skewers, creamy hummus, or refreshing tzatziki.
*
Savory Sensations: Explore options like juicy chicken salad, a warm tuna melt, grilled vegetables with feta cheese, or even breakfast pitas packed with scrambled eggs, cheese, and your favorite breakfast meats. For more ideas on versatile fillings, check out these delicious options:
Quick 10-Minute Pita Pockets: Stuff with Anything!
*
Sweet Surprises: Don't limit yourself to savory! A fun twist for kids (and adults!) could be a classic peanut butter and jelly, or even sliced fruit with cream cheese and a drizzle of honey.
Whether you're packing school lunches, preparing an easy dinner, or hosting a casual get-together, these pockets provide the perfect edible vessel for nearly anything you can imagine. For more ideas on achieving that ideal fluffy texture for all your stuffing adventures, explore
Easy Homemade Pita Pockets: Achieve Fluffy Perfection.
Troubleshooting Common Pita Problems
Even with the best intentions, baking can sometimes throw curveballs. Here are solutions to common pita pocket challenges:
*
My Pita Didn't Puff!
*
Oven Not Hot Enough: The number one culprit. Ensure your oven is fully preheated to the highest temperature. A preheated baking stone/steel helps immensely.
*
Dough Thickness: If the dough is rolled too thick, it won't puff. If it's too thin, it might tear, letting steam escape. Aim for about 1/8 to 1/4 inch thick.
*
Under/Over Proofed Dough: Under-proofed dough lacks enough gas for a strong puff. Over-proofed dough can lose its structure. Follow the rising times closely.
*
Inactive Yeast: Old or inactive yeast won't produce enough gas.
*
My Pita is Hard or Dry:
*
Overbaked: Pita cooks very quickly. Bake only until puffed and lightly golden, no longer.
*
Not Covered After Baking: Always cover hot pita with a tea towel immediately after removing it from the oven to trap steam and keep it soft.
*
Pita is Dense:
*
Insufficient Kneading: The dough needs enough kneading to develop gluten for a light, airy structure.
*
Under-Proofed: The dough didn't have enough time to rise and create sufficient air pockets.
Making your own pita pockets is a rewarding culinary journey that combines simple ingredients with ancient techniques. With this detailed pita pocket recipe and a little practice, you'll be creating perfectly puffy, soft, and utterly delicious pita every single time. Enjoy the process, and most importantly, enjoy stuffing and devouring your homemade creations!