Quick 10-Minute Pita Pockets: Stuff with Anything!
There’s a special kind of magic in biting into a warm, fluffy pita pocket, especially when it’s fresh from your own kitchen. And what if we told you that magic is just 10 minutes of active prep time away? Forget intimidating bread-making myths; this easy
pita pocket recipe is designed for convenience, versatility, and irresistible deliciousness. It embraces the ancient history of pita, a staple across the Middle East and beloved in Greek culture for its soft texture and ability to transform any meal.
Pita isn't just bread; it's a culinary canvas. Throughout my life, growing up with its comforting presence, I’ve seen it accompany everything from vibrant dips to hearty stews. This particular recipe captures that essence, delivering soft, pliable pockets perfect for an endless array of fillings. Whether you're a seasoned baker or a complete novice, get ready to discover how incredibly simple and rewarding homemade pita can be.
Why You'll Love This Quick Pita Pocket Recipe
This isn't just another bread recipe; it's a gateway to easy, delicious meals. Here’s why this particular
pita pocket recipe will become a staple in your kitchen:
Effortless & Fast Prep
Many people shy away from making bread, intimidated by long kneading times or complex steps. This recipe breaks down those barriers. With just about 10 minutes of active preparation, you’ll have your dough mixed and ready for its rise. The process uses simple ingredients and straightforward techniques, proving that homemade bread doesn't have to be a monumental task. The oven does most of the heavy lifting, creating that signature pocket with minimal fuss.
Unbeatable Versatility
Imagine a single base that can cater to every craving, every meal, and every family member's preference. This is the power of the pita pocket. From a quick, wholesome breakfast filled with scrambled eggs and avocado to a hearty lunch brimming with grilled chicken and fresh veggies, the possibilities are genuinely endless. Think outside the box: sweet fillings like Nutella and banana for a treat, or classic Mediterranean combinations like falafel and hummus. They're fantastic for kids' lunchboxes, easy weeknight dinners, or impressive party appetizers.
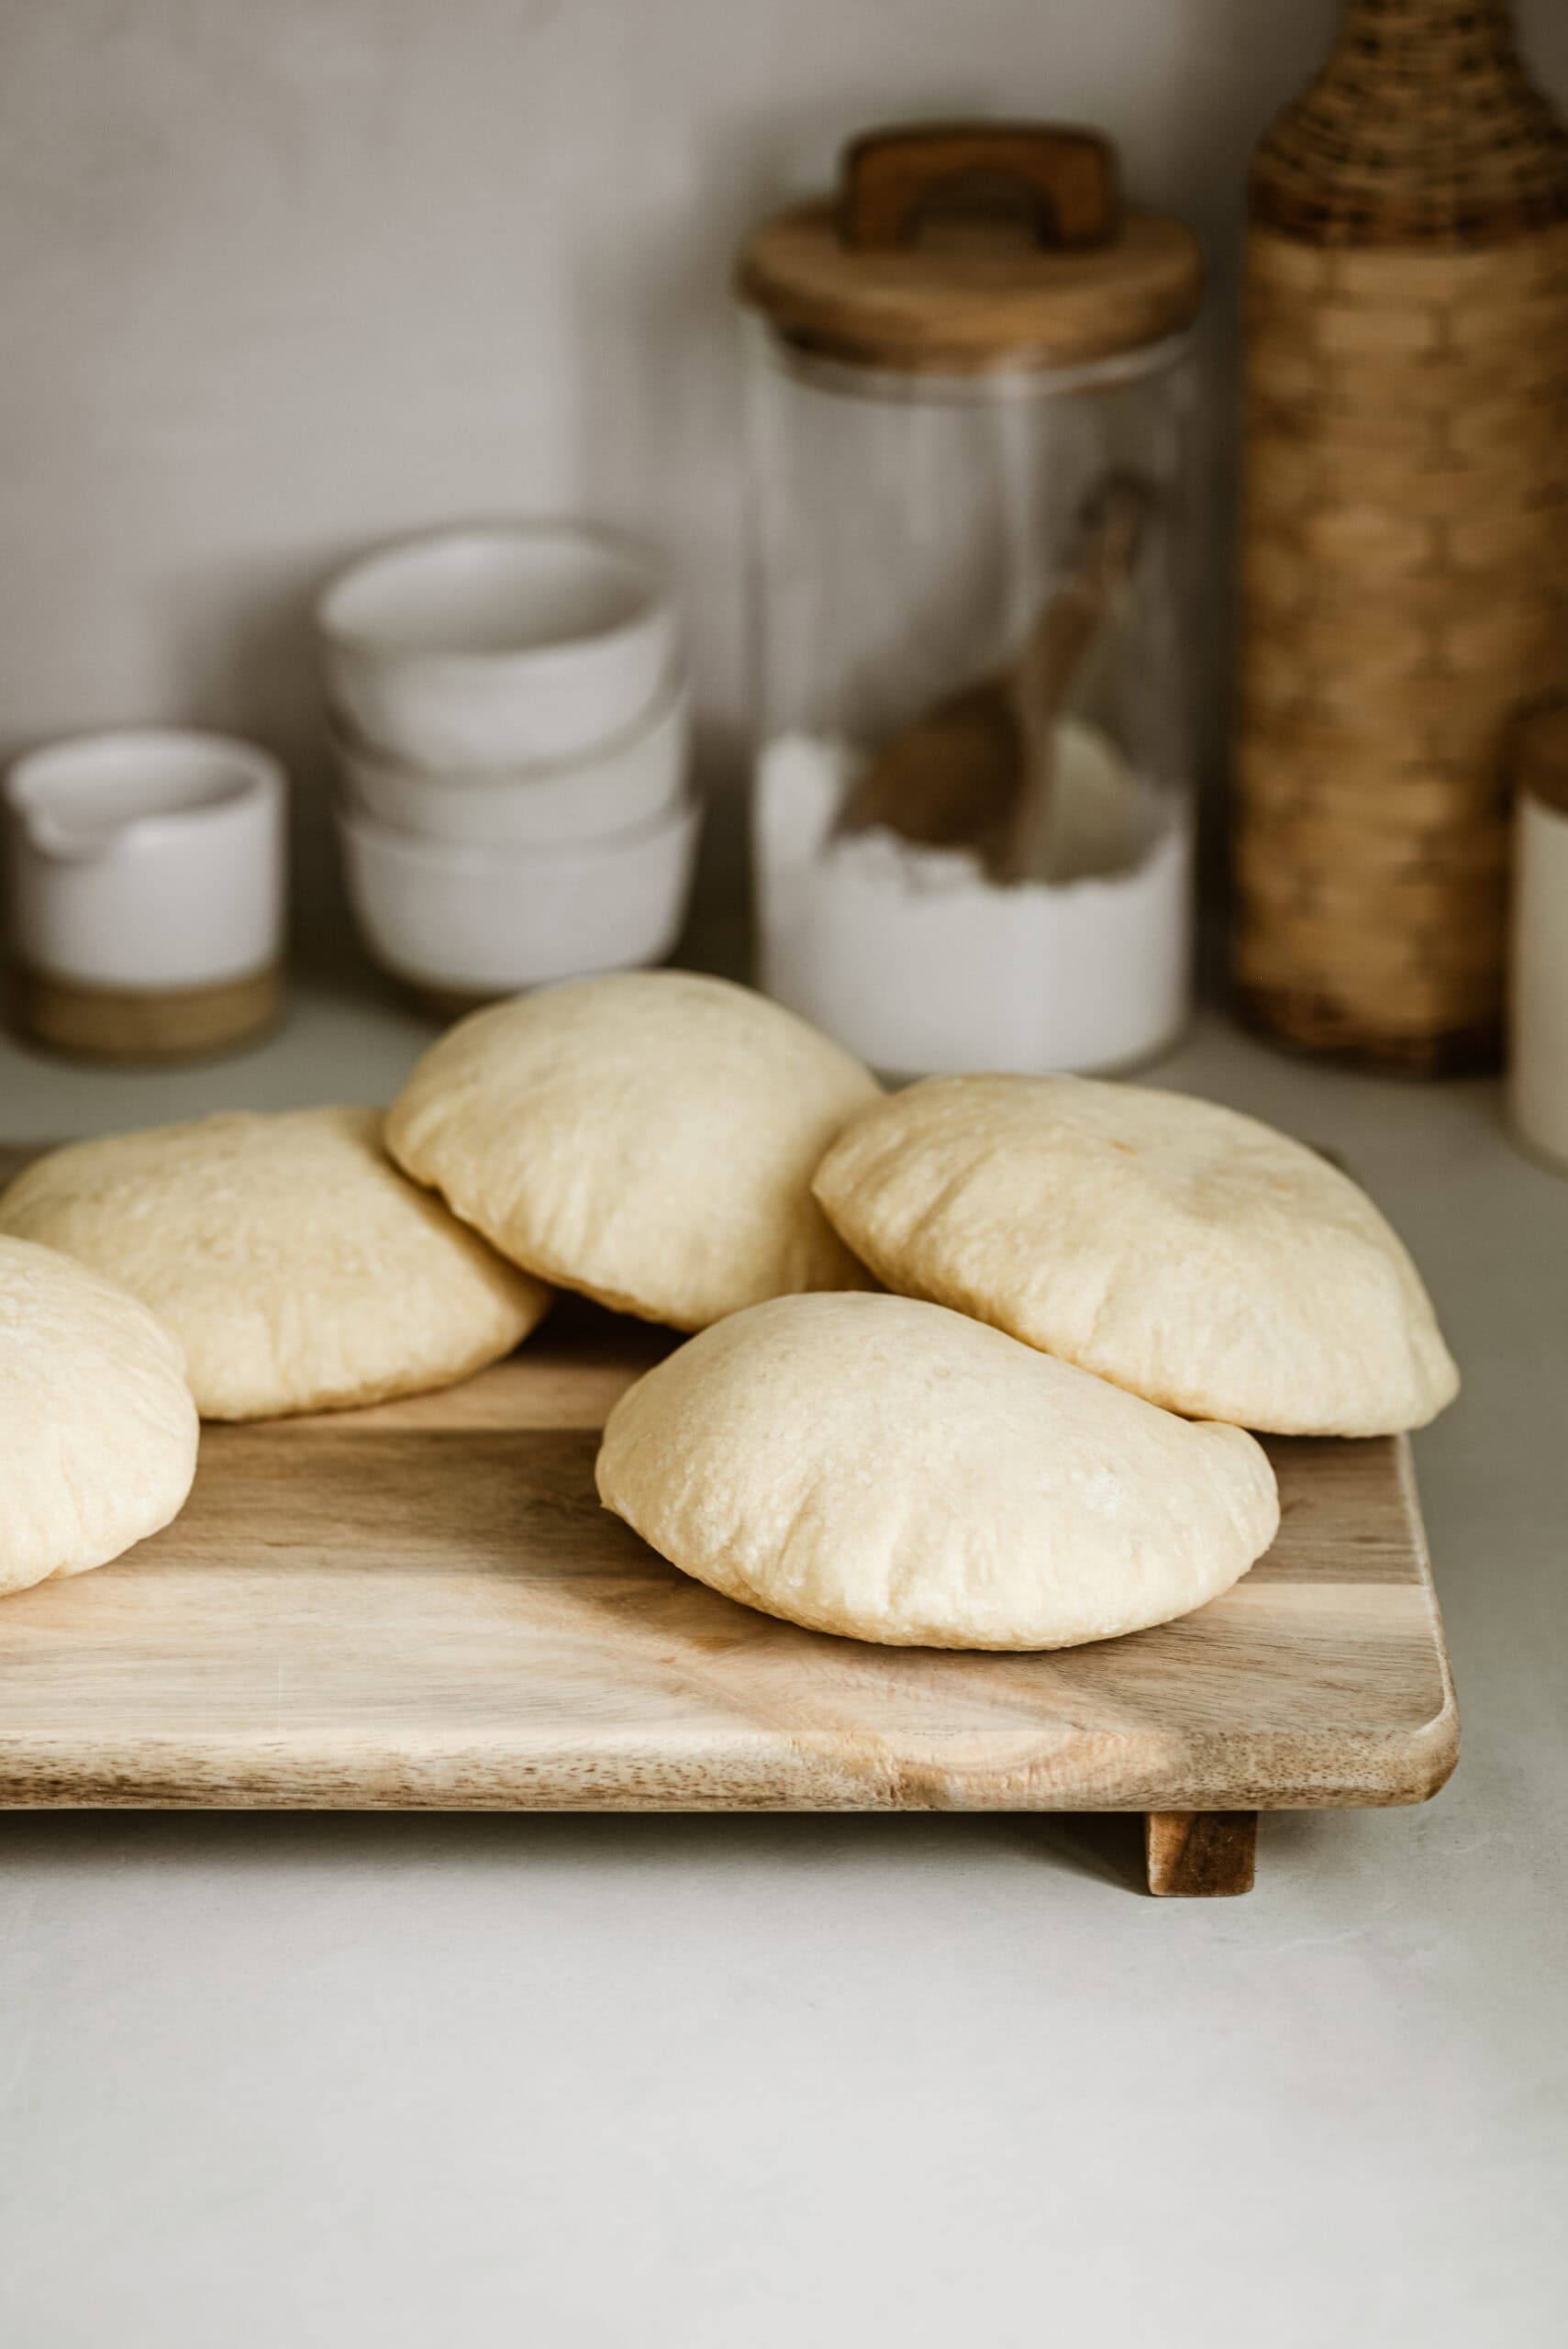
Irresistibly Fluffy & Fresh
The hallmark of a truly great pita is its texture: fresh, soft, and wonderfully fluffy. This recipe delivers just that, ensuring your pitas puff up beautifully to create that perfect, hollow pocket inside. The secret lies in a few key ingredients and steps, guaranteeing a chewy, tender bite every single time. There's truly nothing quite like the taste and aroma of warm, homemade pita.
The Secret to Perfect Pita Pockets: Key Ingredients
Achieving that perfect, puffy pita doesn’t require a chef’s pantry. Just a few foundational ingredients, chosen wisely, make all the difference.
*
Bread Flour: This is a game-changer for your pita. Unlike all-purpose flour, bread flour boasts a higher protein content. This extra protein develops more gluten, leading to a dough that is stronger, more elastic, and ultimately produces a chewier, fluffier pita with that desirable stretch. It’s the key to preventing your pitas from being dense or crumbly.
*
Instant Yeast: For quick and reliable rising. Instant yeast doesn't require proofing beforehand, making the dough-making process even faster and simpler.
*
Lukewarm Water: The perfect temperature is crucial for activating the yeast without killing it. Aim for around 105-115°F (40-46°C) – warm to the touch, but not hot.
*
Olive Oil: Adds richness, tenderness, and helps with the dough's elasticity. A drizzle over the dough during rising also prevents it from drying out.
*
Salt: Essential for flavor and to control yeast activity.
*
Optional Seasoned Butter: While not strictly necessary for the pita itself, a brush of seasoned butter on the warm, freshly baked pitas takes them to another level of deliciousness. Imagine melted butter infused with garlic powder, oregano, a pinch of red pepper flakes, or even some za'atar. This simple addition imparts a velvety texture and an aromatic depth that complements any filling. Don't be afraid to experiment with your favorite herbs and spices here!
Step-by-Step: Crafting Your 10-Minute Pita Pockets
The beauty of this
pita pocket recipe lies in its simplicity. Follow these steps for homemade pita perfection.
1. Make the Dough (The 10-Minute Prep!)
In a large mixing bowl, combine your bread flour, salt, and instant yeast. Give it a quick whisk to distribute everything evenly. Pour in the lukewarm water and olive oil. Using a wooden spoon or a sturdy spatula, mix until a shaggy dough begins to form.
Now, it's time to get your hands in there! Gently bring the dough together, kneading right in the bowl for about 2-3 minutes. The goal here isn't extensive gluten development (that happens during the rise), but rather ensuring all the flour is fully hydrated and incorporated. The dough should be soft and slightly tacky, but not overly sticky. If it feels too sticky, add a tablespoon more flour. If it’s too dry, a teaspoon or two of lukewarm water will help. Once combined, drizzle a little olive oil over the dough, turn it a few times to coat, then cover the bowl tightly with plastic wrap or a clean tea towel.
2. The Rise
Place your covered dough in a warm spot to rise until it has doubled in size. This typically takes about 1 ½ to 2 hours, depending on the warmth of your environment. If you’re in a hurry, you can speed this up slightly by placing the bowl in a slightly warm (but turned off) oven or near a sunny window. This passive waiting period is when the magic happens, developing flavor and that airy texture.
While your dough is rising, it's the perfect time to prepare your optional seasoned butter. Simply mix softened butter with your chosen spices (garlic powder, dried oregano, a pinch of chili flakes, etc.) and set aside.
3. Shaping and Baking
Once your dough has gloriously risen, gently turn it out onto a lightly floured work surface. Form the dough into a rough circle, then divide it into 9 equal pieces. This makes managing the dough easier and ensures consistent pita sizes.
Take each piece and gently form it into a smooth ball. Using a rolling pin, roll each ball into a thin, approximately 6-inch diameter circle. Don't roll them too thin, or they won't puff up correctly. Preheat your oven to a very high temperature (around 450-475°F or 230-245°C) with a baking stone or an inverted baking sheet inside to get scorching hot. This intense heat is crucial for the pita to rapidly steam and puff up into a pocket.
Carefully place 2-3 rolled pita dough circles directly onto the hot baking surface (don’t overcrowd!). Bake for 2-4 minutes per side, or until they puff up like balloons and have light golden-brown spots. Flip them once halfway through. As they finish, they'll deflate a bit, but the pocket will remain. Transfer the hot pitas to a wire rack, and if using, immediately brush them with your seasoned butter. Cover them with a clean tea towel to keep them soft and warm while you bake the remaining dough. For more insights on achieving this perfect puff, explore our article on
Secrets to Perfect Pita Pockets: Puffy & Delicious Every Time.
Endless Stuffing Possibilities: Get Creative!
The real fun begins once your fluffy
homemade pita bread is ready. The hollow pocket is an invitation to culinary creativity!
*
Mediterranean Classics: Fill with homemade falafel, creamy hummus, crisp lettuce, juicy tomatoes, red onion, and a drizzle of tahini. Or create a chicken gyros experience with grilled marinated chicken, tzatziki, and fresh veggies.
*
Breakfast Bliss: Scrambled eggs, crumbled feta, spinach, and a dash of hot sauce make for a delightful morning meal on the go.
*
Lunchtime Legends: Tuna salad, chicken salad, or even a simple turkey and cheese sandwich are elevated when tucked into a warm pita. For a vegetarian option, try roasted vegetables like bell peppers, zucchini, and eggplant with a sprinkle of feta.
*
Kid-Friendly Favorites: Think outside the sandwich bread! Peanut butter and jelly, cream cheese and cucumber, or even mini meatballs with marinara sauce are fantastic options that kids will love.
*
Gourmet Greens: Stuff with a vibrant kale salad, grilled halloumi, roasted chickpeas, and a lemon-tahini dressing for a healthy, satisfying meal.
*
Sweet Sensations: Don't forget dessert! Warm pita pockets can be filled with apple slices, cinnamon sugar, and a dollop of whipped cream, or a rich chocolate spread with fresh berries.
The versatility of this
pita pocket recipe means your meals will never be boring!
Pro Tips for Pita Perfection
To ensure your homemade pita pockets are consistently amazing, keep these expert tips in mind:
*
Don't Over-Knead the Initial Dough: Unlike some breads, extensive kneading isn't necessary for pita. Just mix until combined and smooth. The rise does the heavy lifting for gluten development.
*
Hot Oven is Key: A screaming hot oven and baking surface (stone or inverted sheet) create steam instantly, causing the pita to puff up. If your oven isn't hot enough, your pitas might bake flat.
*
Don't Roll Too Thick or Thin: Aim for about 1/8 to 1/4 inch thick. Too thick, and they won't puff well; too thin, and they might tear.
*
Keep Dough Covered: As you work with each piece of dough, keep the remaining dough covered with a tea towel to prevent it from drying out.
*
Storage: Freshly baked pita is best enjoyed warm. If you have leftovers, store them in an airtight bag at room temperature for up to 2-3 days, or freeze for longer storage. Reheat gently in a toaster, oven, or microwave. For even more detailed guidance on achieving bakery-quality results, refer to
Easy Homemade Pita Pockets: Achieve Fluffy Perfection.
This quick and easy
pita pocket recipe demystifies homemade bread, proving that with minimal effort, you can enjoy fresh, fluffy, and incredibly versatile pita pockets whenever the craving strikes. From ancient origins to modern kitchens, pita remains a timeless favorite for good reason. So, roll up your sleeves, embrace the 10-minute prep, and get ready to stuff your pockets with anything your heart desires!