Easy Homemade Pita Pockets: Achieve Fluffy Perfection
There's a special kind of magic that happens when you create something delicious from scratch in your own kitchen. And when it comes to bread, few things are as satisfying or as versatile as a warm, fluffy pita pocket. Imagine biting into a soft, chewy envelope, perfectly puffed, ready to be filled with all your favorite ingredients. This isn't just a meal; it's an experience. If you’ve ever found yourself intimidated by bread making, prepare to have your mind changed. This comprehensive guide to an easy
pita pocket recipe will empower you to achieve those elusive, perfectly puffed pockets right at home, transforming your meals and snacks.
For many, especially those with roots in the Mediterranean and Middle East, pita is more than just bread – it's a staple, a tradition, almost a sacred food. It's meant to be fresh, it's meant to be fluffy, and it's meant to accompany nearly every meal. While its history stretches back thousands of years and it made its way into Greek culture from the Middle East, its universal appeal lies in its incredible versatility. Forget the dry, crumbly store-bought versions; our homemade
pita pocket recipe delivers on all fronts, promising a soft, pliable, and utterly delicious canvas for your culinary creations.
Why Homemade Pita Pockets Are a Game Changer
Embarking on the journey to make your own pita pockets might seem daunting at first, but the rewards far outweigh any perceived difficulty. Here's why this
pita pocket recipe will become a beloved staple in your kitchen:
*
Surprisingly Easy: The biggest myth about bread making is that it's complicated. This recipe uses simple, accessible ingredients and straightforward steps, making it perfect for beginners and seasoned bakers alike. With just about 10 minutes of active prep time, you’ll be amazed at how effortlessly you can create these culinary wonders.
*
Unrivaled Versatility: The "pocket" in pita pocket isn't just a design feature; it's an invitation to endless creativity. From classic fillings like gyro meat, falafel, or chicken souvlaki to more unconventional delights such as PB&J for a kid's lunch, scrambled eggs for breakfast, or even a mini-pizza, the possibilities are limitless. These pockets are fantastic for quick lunches, elaborate dinners, or even healthy snack alternatives.
*
Guaranteed Fluffiness and Freshness: The hallmark of a truly great pita is its texture. Homemade pita is incomparably fresh, soft, and, most importantly, *fluffy*. You'll achieve that perfect chewiness and delightful airiness that simply can't be replicated by pre-packaged options. The aroma alone is worth the effort!
*
Cost-Effective: Making your own bread is almost always more economical than buying it. With a few basic pantry staples, you can produce a batch of delicious pita pockets for a fraction of the cost, ensuring you always have fresh bread on hand.
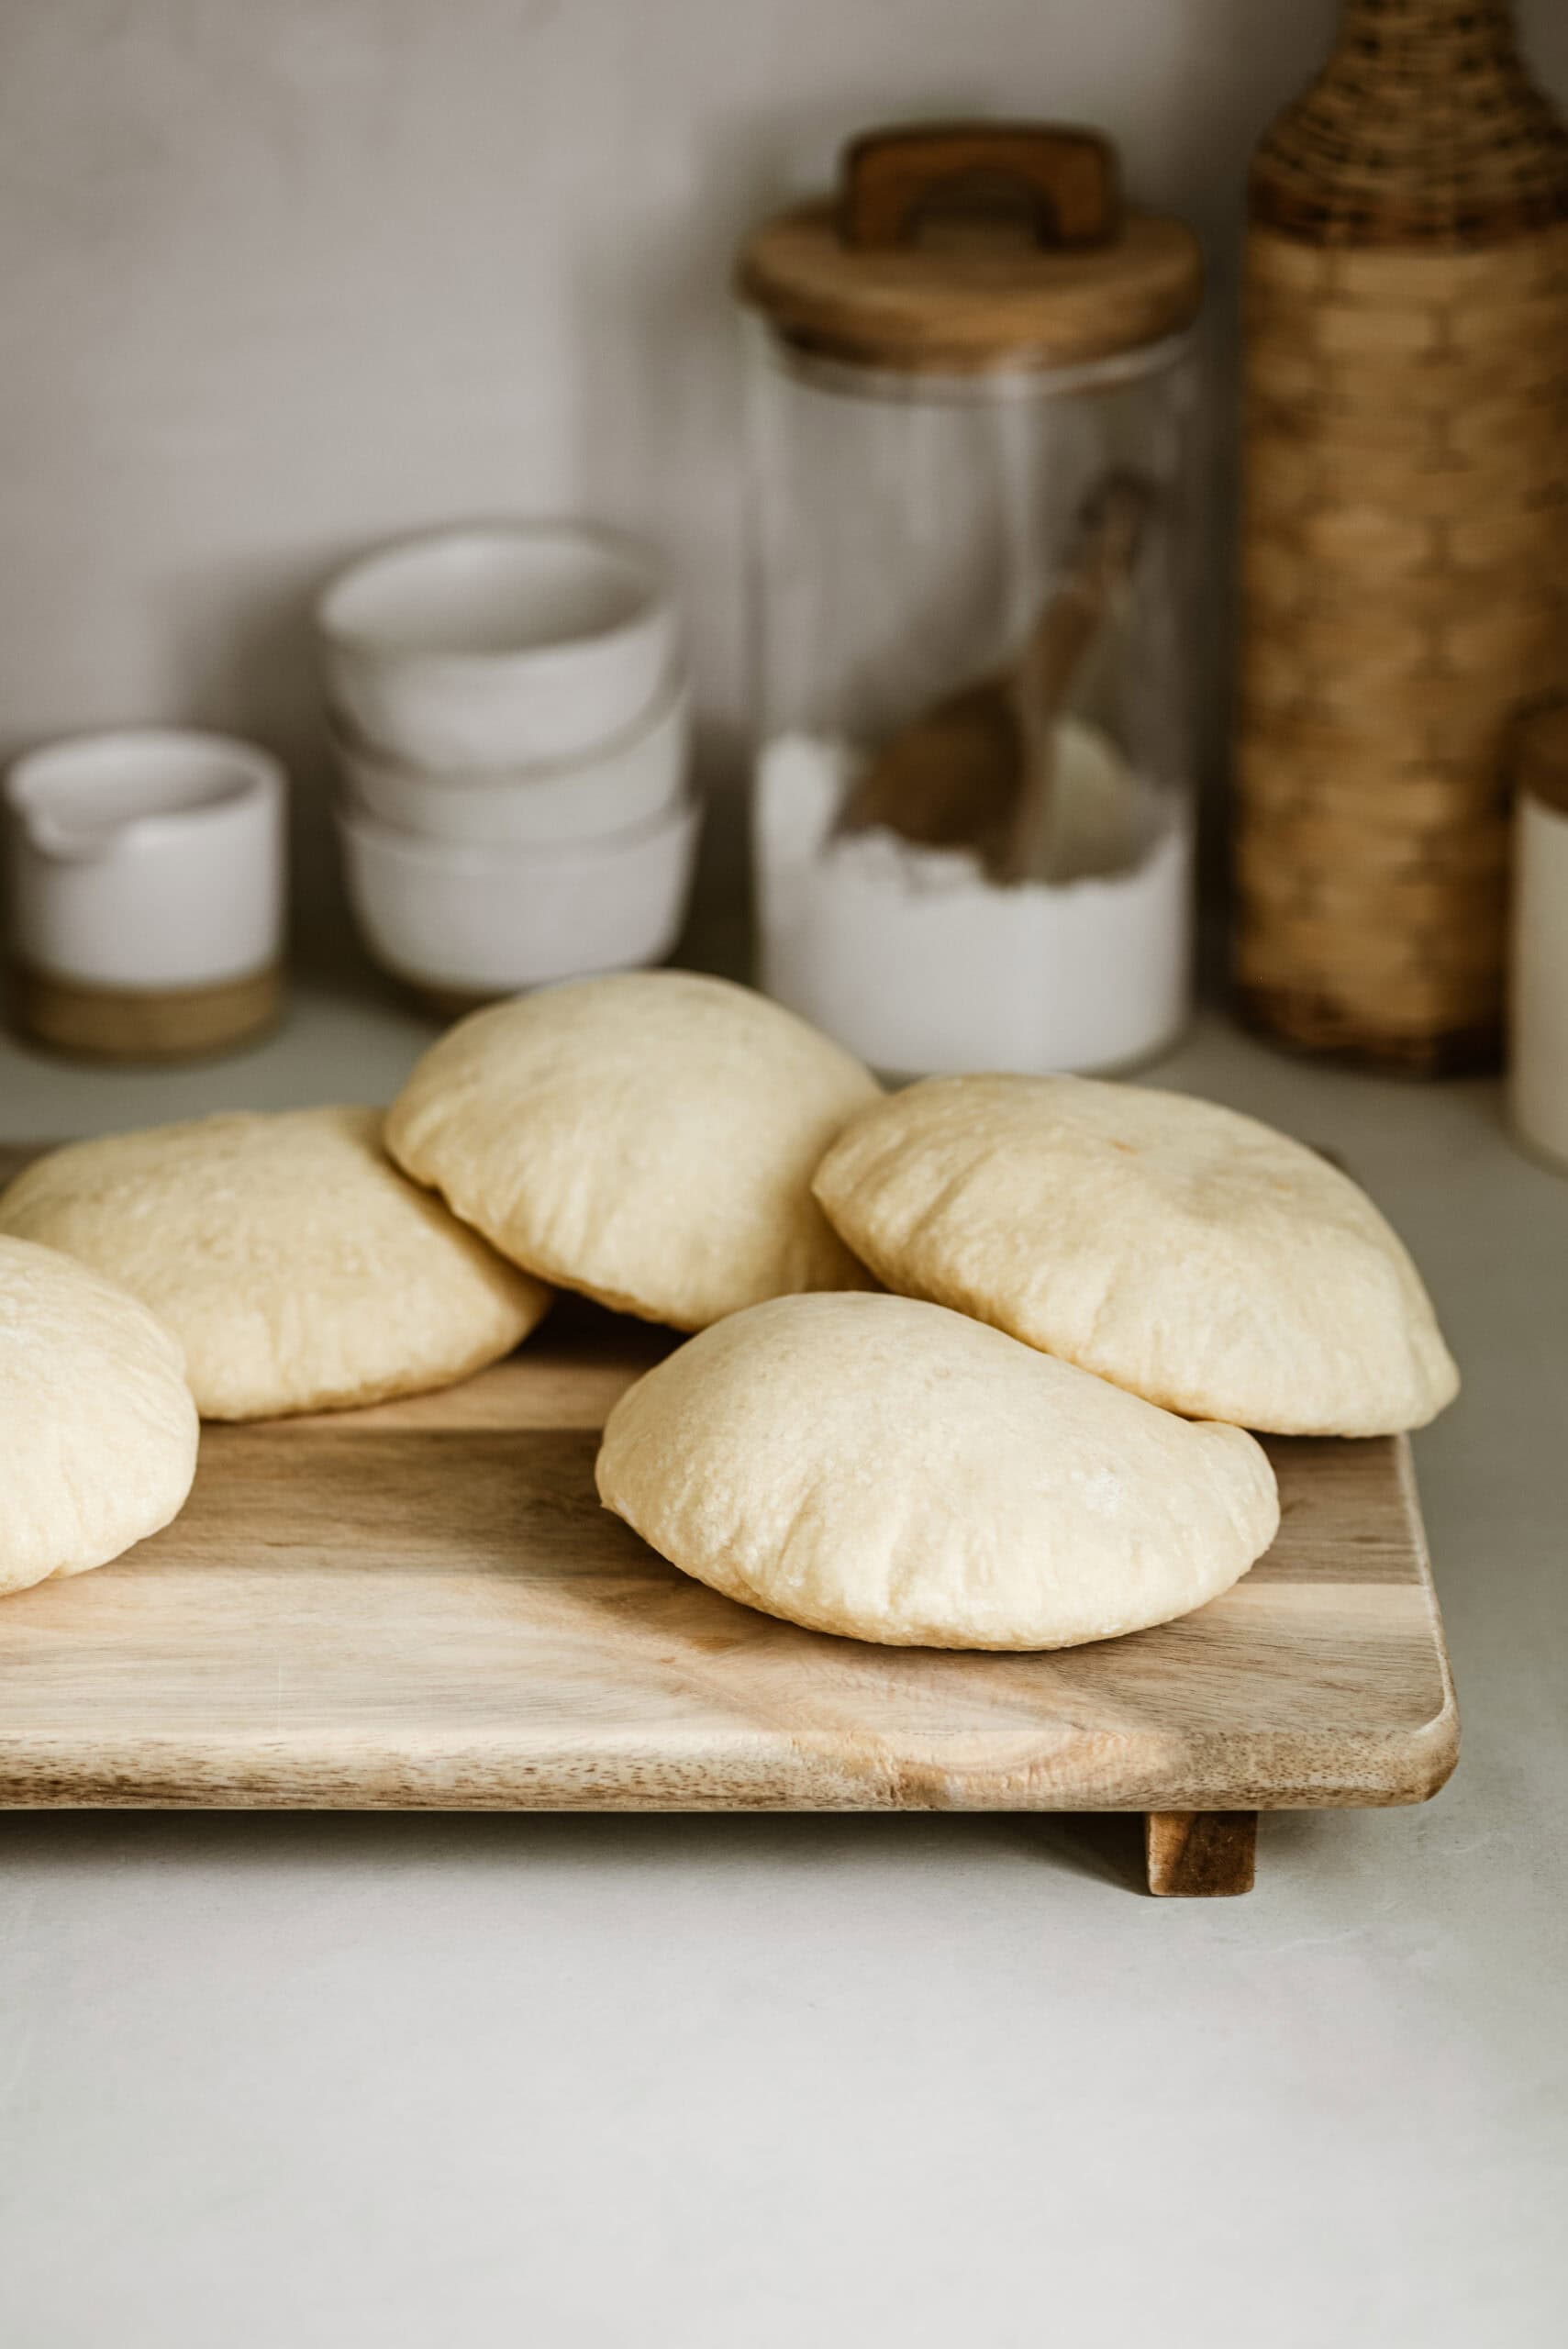
*
The Joy of the Puff: There's a moment of pure culinary magic when your pita bread hits the hot oven and dramatically puffs up like a balloon. It’s incredibly satisfying and the secret to forming that ideal pocket. This sensation alone is enough to make anyone fall in love with the process.
Essential Ingredients for Your Perfect Pita Pocket Recipe
Achieving those perfect, fluffy pita pockets starts with understanding the role of each ingredient. While simple, the right choices make all the difference:
*
Bread Flour: This is arguably the most crucial ingredient for our
pita pocket recipe. Bread flour differs from all-purpose flour due to its higher protein content. This higher protein level translates to more gluten development, which is essential for creating the elasticity and strength needed for the dough to stretch, trap steam, and puff up beautifully. The result is a chewy yet tender pita that holds its shape and, most importantly, forms that perfect pocket.
*
Instant Yeast: We opt for instant yeast for its convenience. Unlike active dry yeast, instant yeast doesn't require proofing in warm water first. You can mix it directly with your dry ingredients, saving time and simplifying the process. It's a reliable leavening agent that ensures your dough rises consistently.
*
Lukewarm Water: The temperature of your water is vital. It needs to be lukewarm (around 105-115°F or 40-46°C) – warm enough to activate the yeast, but not so hot that it kills it. Too cold, and the yeast won't activate efficiently; too hot, and your dough won't rise.
*
Olive Oil: A touch of olive oil contributes to the dough's tenderness, adds a subtle richness in flavor, and helps keep the dough supple, making it easier to work with.
*
Salt: Beyond just seasoning, salt plays a critical role in controlling yeast activity and strengthening the gluten structure, contributing to both the flavor and texture of your pita.
*
(Optional) Seasoned Butter: While not strictly part of the dough, smothering your freshly baked pita pockets with seasoned butter adds an irresistible layer of velvety flavor. Experiment with spices like garlic powder, dried oregano, paprika, a pinch of chili flakes, or even sumac for an authentic touch. This simple addition elevates the experience, making each bite even more satisfying. You can also simply use plain melted butter or a drizzle of olive oil.
Mastering the Art of Making Pita Pockets: Step-by-Step Guide
Follow these steps to craft the perfect, fluffy pita pockets that everyone will rave about. This detailed
pita pocket recipe ensures success:
1.
Make the Dough: In a large mixing bowl, whisk together the bread flour, salt, and instant yeast. This ensures even distribution. Pour in the lukewarm water, followed by the olive oil. Using a sturdy wooden spoon or your hands, mix until a shaggy dough forms and most of the flour is incorporated. Turn the dough out onto a lightly floured surface and knead for 2-3 minutes, just until the dough comes together into a cohesive ball and no dry flour remains. *
Pro Tip: If your dough feels too sticky, add 1 tablespoon of flour at a time and knead until it's more manageable. If it's too dry, add 1 teaspoon of lukewarm water at a time until it's pliable.* Drizzle a little olive oil over the dough, turn it a few times to coat, and place it back in the bowl. Cover the bowl tightly with plastic wrap or a clean tea towel.
2.
First Rise: Place the covered bowl in a warm spot in your kitchen. This could be near a sunny window, in a slightly warmed (but turned off) oven, or simply on your countertop if your kitchen is warm. Let the dough rise until it has doubled in size, which typically takes about 1 ½ to 2 hours, depending on the temperature. During this time, the yeast ferments, producing carbon dioxide that creates air pockets, and the gluten relaxes and develops, contributing to the pita's characteristic chewiness.
3.
Prepare the Seasoned Butter (Optional): While the dough is rising, you can prepare your seasoned butter. Simply mix softened butter with your preferred spices (garlic powder, oregano, etc.) in a small bowl. Set aside at room temperature.
4.
Divide and Shape: Once your dough has doubled, gently punch it down to release the air. Transfer it to a lightly floured work surface. Form the dough into a rough circle or log and divide it into 9 equal pieces. The goal here is consistency, which helps ensure even cooking. Take each piece and gently form it into a smooth ball. You can do this by cupping the dough in your hand and rotating it on the counter or by pinching the seams underneath.
5.
Roll Out the Pita: On your lightly floured surface, take one dough ball and flatten it slightly with your palm. Using a rolling pin, roll the dough into a thin circle, about 6-7 inches in diameter and roughly 1/8 to 1/4 inch thick. Aim for uniform thickness to ensure an even puff. Repeat with the remaining dough balls, placing the rolled-out pitas on a baking sheet lined with parchment paper or a clean, lightly floured surface, making sure they don't overlap. Cover them lightly with a tea towel while you work to prevent them from drying out.
6.
Baking for the Perfect Puff: This is where the magic happens! Preheat your oven to a very high temperature, typically 475-500°F (245-260°C). If you have a baking stone or a heavy baking sheet, place it in the oven during preheating to get it screaming hot. This intense heat is crucial for the pita to puff up.
Carefully transfer 1-2 rolled pita rounds directly onto the hot baking stone or sheet. Bake for 2-3 minutes. Watch closely! You'll see the pita begin to puff up dramatically, like a balloon. Once fully puffed, flip it over and bake for another 1-2 minutes until it's lightly golden in spots. Don't overbake, or your pita will become dry and brittle.
7.
Keep Warm: As each pita finishes baking, transfer it to a plate and immediately stack it and cover it with a clean kitchen towel. This traps the steam, keeping the pita soft and pliable. Once all pitas are baked, brush them with the optional seasoned butter, if using.
Creative Stuffing Ideas for Your Homemade Pita Pockets
Now that you've mastered the art of baking fluffy pita, it's time to explore the endless possibilities for stuffing them. This
pita pocket recipe is merely the beginning of your culinary adventure!
*
Mediterranean Classics: Embrace the roots with fillings like thinly sliced gyro meat, crispy falafel, grilled chicken souvlaki or shawarma, or a simple blend of hummus, chopped cucumber, tomatoes, and red onion. Don't forget a drizzle of tzatziki!
*
Vegetarian Delights: Create vibrant pockets with roasted vegetables (bell peppers, zucchini, eggplant), crumbled feta cheese, spinach, a hearty lentil salad, or black bean burgers.
*
Breakfast Bliss: Start your day right by stuffing pitas with scrambled eggs, cheese, avocado, bacon, or sausage. They make for a portable and satisfying breakfast.
*
Kid-Friendly Favorites: For the little ones, think mini pizzas with marinara and mozzarella, chicken nuggets, or even the classic peanut butter and jelly (or banana and honey). You can find more quick and easy ideas here:
Quick 10-Minute Pita Pockets: Stuff with Anything!
*
Innovative Ideas: Don't be afraid to experiment! Leftover chili, pulled pork, taco-seasoned ground beef, or even curried chickpeas make fantastic and unique pita fillings.
Troubleshooting Your Pita Pockets: Achieving Consistent Puffs
While this
pita pocket recipe is designed for success, sometimes things don't go exactly as planned. Here are some common issues and how to troubleshoot them:
*
Pita Not Puffing Up?
*
Oven Not Hot Enough: The most common culprit. Your oven, and especially your baking surface (stone/sheet), *must* be screaming hot. High heat creates instant steam inside the dough, causing it to inflate.
*
Dough Rolled Too Thick or Thin: If it's too thick, the heat can't penetrate quickly enough to create enough steam. If it's too thin, it might tear before it has a chance to puff. Aim for 1/8 to 1/4 inch thickness.
*
Dough Didn't Rise Enough: If your yeast was old or your rising spot wasn't warm enough, the dough might not have enough internal structure and gases to puff.
*
Dough Overworked: Over-kneading can develop too much gluten, making the dough too stiff to puff freely. Under-kneading might mean the gluten structure isn't strong enough to trap the steam.
*
Hard or Crispy Pita?
*
Overbaked: Pita cooks very quickly. If you bake it for too long, it will dry out and become brittle instead of soft and chewy.
*
Not Wrapped After Baking: Immediately wrapping hot pita in a towel after it comes out of the oven is crucial. This traps the residual steam, keeping them soft and pliable.
*
Sticky Dough?
* This usually means there's too much water relative to flour. Add flour a tablespoon at a time until the dough is manageable but still soft and elastic.
For even more in-depth advice and tips on perfecting your pita, check out:
Secrets to Perfect Pita Pockets: Puffy & Delicious Every Time.
Learning to make your own pita pockets is a culinary skill that offers immense satisfaction and opens up a world of delicious possibilities. This easy
pita pocket recipe demystifies the process, proving that achieving fresh, fluffy, and perfectly pocketed pita at home is not only achievable but incredibly rewarding. From the simple joy of mixing the dough to the magic of watching them puff in the oven, every step is a delight. So gather your ingredients, follow these steps, and prepare to impress yourself and everyone at your table with the superior taste and texture of homemade pita. Enjoy stuffing, toasting, and devouring your magnificent creations!